

Login
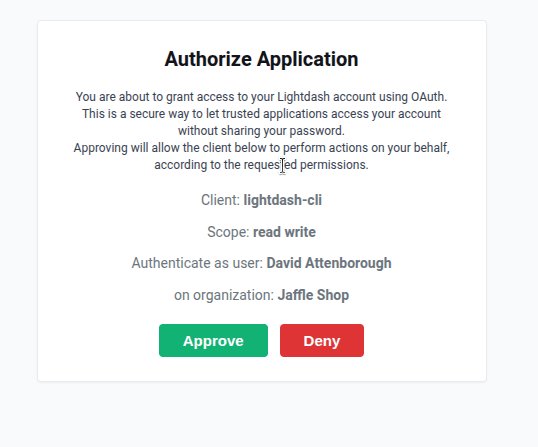
The CLI uses browser-based OAuth login by default, making authentication quick and easy.Basic login
{{ lightdash_domain }} is the subdomain for your Lightdash instance. For example, if you login at https://petey.lightdash.cloud, then you would type lightdash login petey to pop up a login window.
Flexible URL formats
The CLI accepts your instance URL in multiple formats, all of these work:petey if your instance is at petey.lightdash.cloud).
For self-hosted instances, you can use the full domain without the https:// prefix - it’s assumed automatically.
Re-authenticate to a previous instance
Once you’ve logged in, you can re-authenticate without specifying the URL:Login with a personal access token (for SSO users)
Login with a personal access token (for SSO users)
If you use single sign-on (SSO) in the browser, login with a personal access token.First, create a new personal access token in the UI by going to Settings > Personal Access Tokens.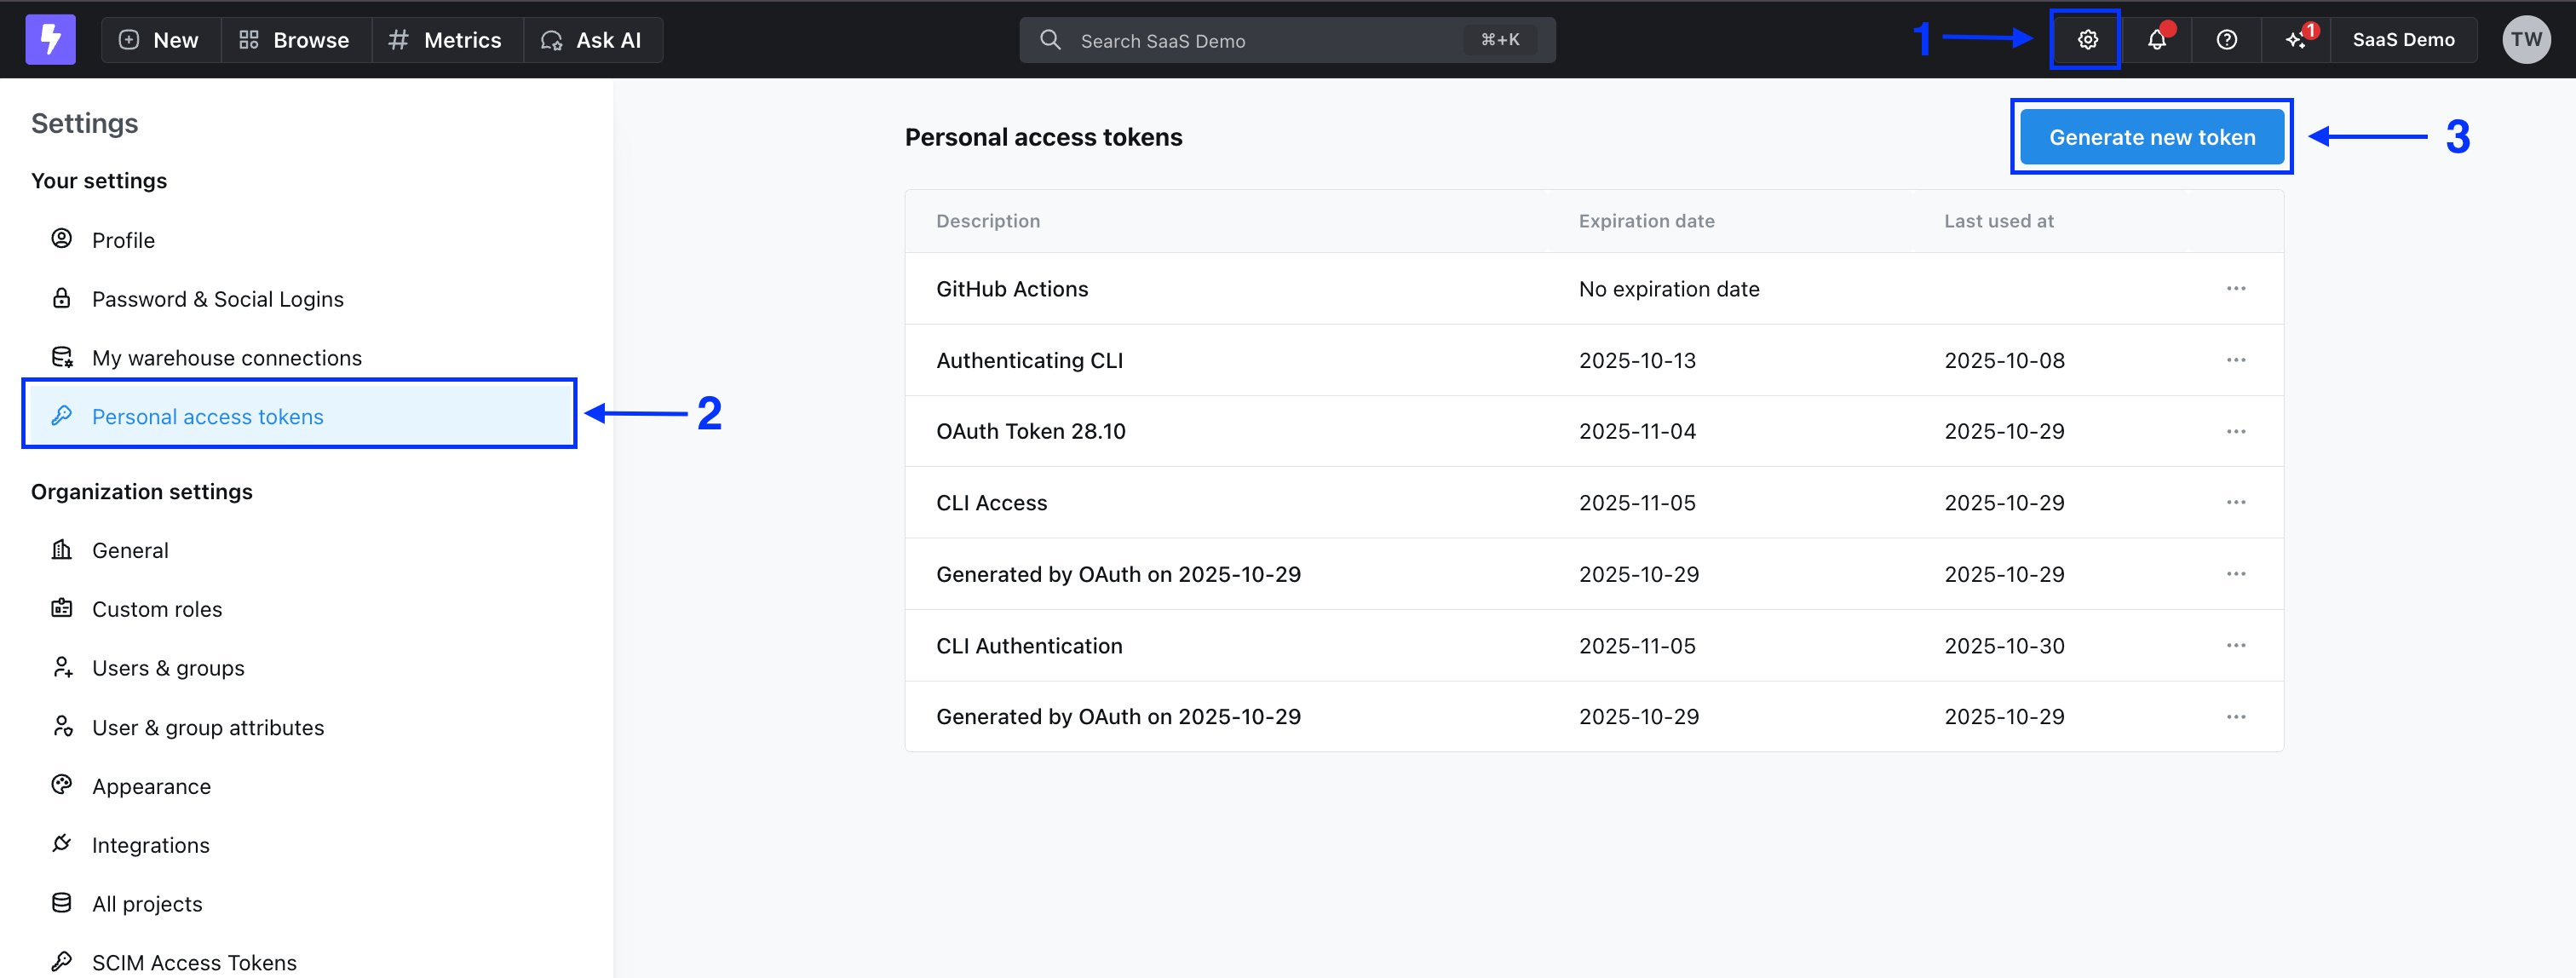
Login with environment variables (for CI/CD)
Login with environment variables (for CI/CD)
You can use the following environment variables to authenticate yourself on each command:
- LIGHTDASH_API_KEY a personal access token you can generate in the app under the user settings
- LIGHTDASH_URL address for your running Lightdash instance
-
LIGHTDASH_PROXY_AUTHORIZATION if your Lightdash instance is behind a proxy like Cloud IAP you can set here
Proxy-Authenticationheader value
Set active project
When you login you’ll be asked to set an active project. Your active project is just the one that you’re working on/developing in. Your organization might just have one project, so that makes your decision easy! You can change your active project by running:LIGHTDASH_PROJECT environment variable to indicate what project UUID the command should use.
Example: